Easy Ribbed Crochet Beanie Pattern: Step-by-Step Guide
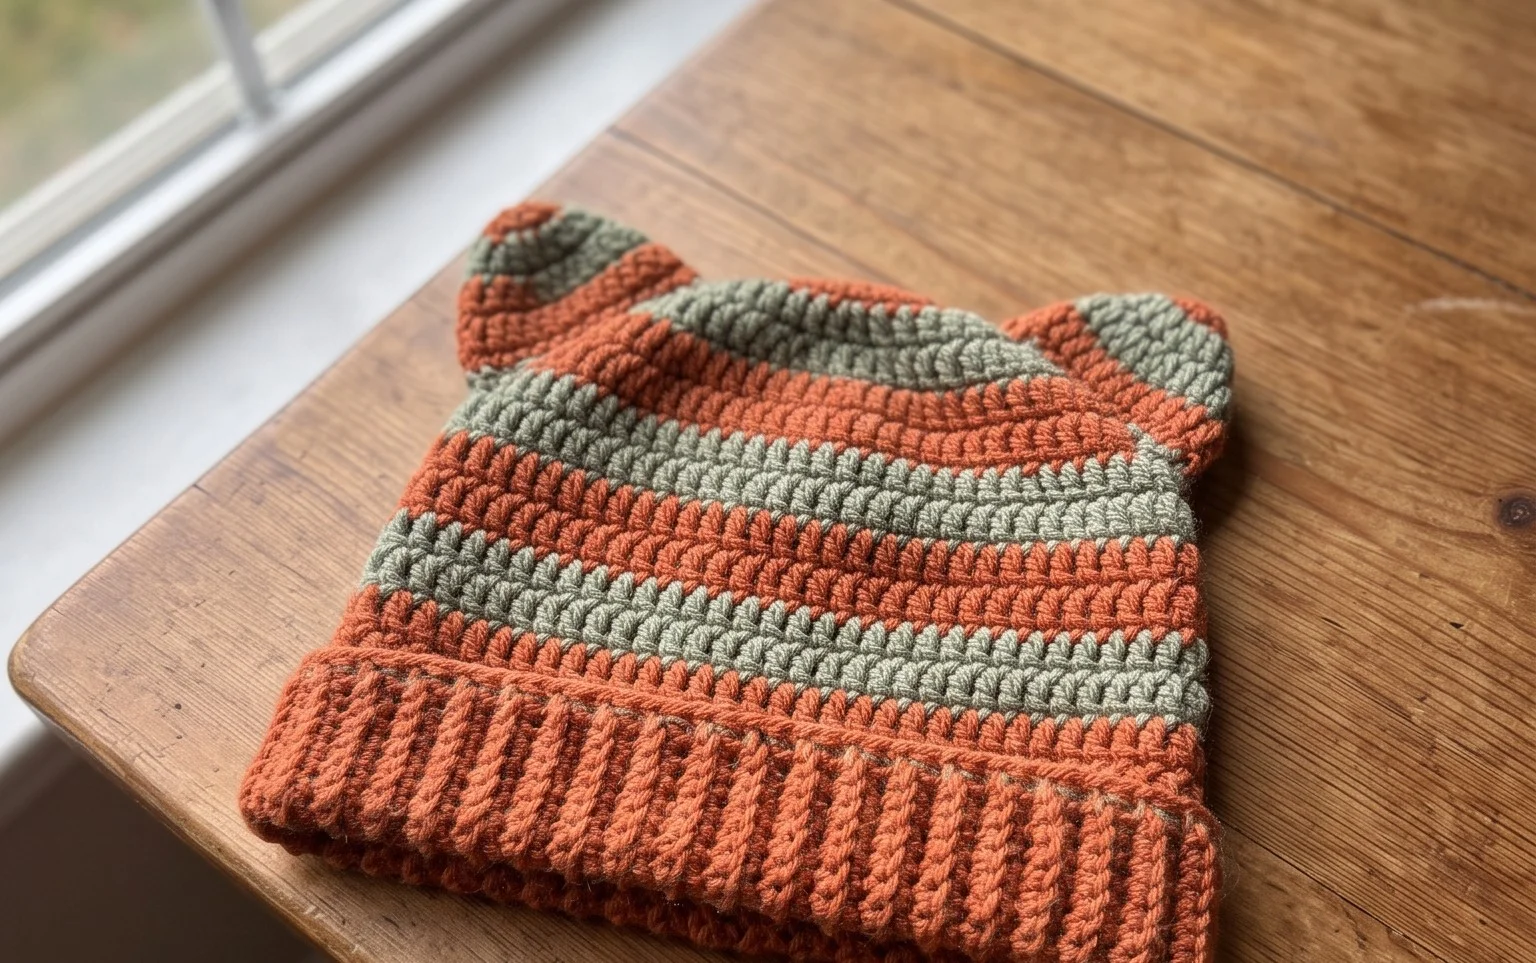
This ribbed beanie feels soft against the skin and provides a warm, snug fit that stays securely in place during windy winter walks. Beginners often find this project rewarding because it relies on simple back loop half double crochet stitches, which create a professional look with minimal effort. You will work a flat rectangular panel that gains its shape once you seam the sides and gather the top, making it a great alternative to projects that require complex circular increases. It is a reliable choice for last-minute handmade gifts for friends, as it only takes a few hours to complete.

Why You’ll Love This Pattern
This crochet ribbed beanie offers a classic, fitted silhouette that sits snugly against the head. The structure relies on the half double crochet stitch worked in the back loop only, which creates a stretchy, fabric-like texture similar to knit ribbing. Because it is worked as a flat rectangular panel and seamed together, the construction is straightforward and avoids the complexity of traditional circular hat shaping. You can finish this project in a single weekend, making it an ideal choice for last-minute handmade gifts or refreshing your winter accessory collection. The ribbing provides excellent thermal retention, keeping your ears warm in breezy weather.
I finished this hat in two sittings and the fit is perfect because the ribbing has so much natural stretch. It is now my go-to pattern for making gifts for friends because it works up fast and looks professional.
— Sarah, intermediate crocheter
Pattern Overview & Skill Level
- Skill Level: Beginner
- Approximate Time: 3 to 5 hours
- Construction: Flat panel worked back and forth, then seamed at the side and gathered at the crown
- Finished Dimensions: 18 inches circumference (unstretched) by 9 inches tall
Materials & Supplies Needed
- Yarn: Worsted weight #4, 100% acrylic or wool blend, approximately 200 yards.
- Hook Size: 5.5 mm (US I-9).
- Notions: Tapestry needle, locking stitch markers, scissors.
- Safe yarn substitutions: You may use a DK weight yarn for a lighter feel, though you will need to increase your starting chain length to match the 9-inch height requirement. Avoid cotton yarn, as it lacks the elasticity needed for the ribbing to hold its shape.
Stitch Guide & Abbreviations (US Terms)
- ch = chain
- hdc = half double crochet
- BLO = back loop only (insert hook into only the back loop of the stitch instead of both loops)
- sl st = slip stitch
- st/sts = stitch/stitches
- Special stitch note: The BLO technique is essential for the ribbed texture. When working hdc in the BLO, you will see a prominent ridge formed on the right side of the fabric.
Step-by-Step Pattern Instructions
Hat Body
- Row 1: Ch 41. Work 1 hdc in the third ch from the hook and in each ch across. (39 sts)
- Row 2: Ch 2 (does not count as a stitch), turn. Working in BLO, hdc in each st across. (39 sts)
- Rows 3-60: Repeat Row 2 until the piece measures approximately 18 inches unstretched when laid flat.
- Fasten off, leaving a long tail (about 12 inches) for seaming.
Assembly and Finishing
- Fold the rectangle in half so the short ends touch.
- Using the long tail and your tapestry needle, whip stitch the two short ends together to create a tube.
- Secure the yarn and weave in the end.
- Turn the tube inside out so the seam is on the inside.
- Thread a new piece of yarn onto your needle and weave it in and out along one of the open edges of the tube.
- Pull the yarn tight to gather the top of the hat closed. Knot it securely at the center.
- Turn the brim up to form the cuff if desired.
Care & Washing Instructions
- Machine wash on a gentle cycle in cool water (max 30C) using a mild detergent.
- Lay the hat flat on a towel away from direct sunlight to dry completely.
- Reshape the item while damp to ensure the ribbing returns to its intended dimensions.
Pro Tips & Common Mistakes to Avoid
Maintain consistent tension throughout the row. Because hdc stitches can pull tighter as you work, keep your hands relaxed to ensure the fabric remains stretchy. Always place a stitch marker in the first stitch of every row to ensure you do not accidentally skip the final stitch, which would cause your edges to slant inward. When weaving in your ends, run the yarn through the back of the stitches in two different directions to prevent the seam from unraveling during wash cycles. If you want a slouchier fit, simply add more rows to your panel before seaming, as this will increase the circumference of the hat.
Frequently Asked Questions
Can I use a larger hook size for this pattern?
Using a larger hook will make the fabric looser and potentially more prone to sagging. Stick to the recommended 5.5 mm hook to ensure the ribbing stays snug against your head.
Is this pattern suitable for children?
Yes, this is highly adjustable. To make a smaller size, simply reduce the starting chain count to 30 for a shorter height and stop the pattern repeat once you reach the desired head circumference.
How do I prevent the seam from being bulky?
Use the mattress stitch instead of a whip stitch if you want a flatter, nearly invisible seam. Ensure you are picking up only the front loops of the stitches on both sides when joining.
May I sell the hats I make from this pattern?
You are welcome to sell finished items produced from this design. Please credit the pattern origin in your shop listings to help other makers find the instructions.

Completing this project gives you a warm, wearable accessory that fits perfectly thanks to the natural stretch of the ribbed fabric. Try using a variegated yarn to add visual interest without changing the construction steps, or make a smaller version for a child by adjusting the starting chain length. I would love to see how your beanie turned out, so please share a photo on your social media accounts. You can find more free patterns to build your skills on my blog whenever you are ready for your next project.