Dreamy Cable Hat Free Pattern: Simple Beginner Crochet
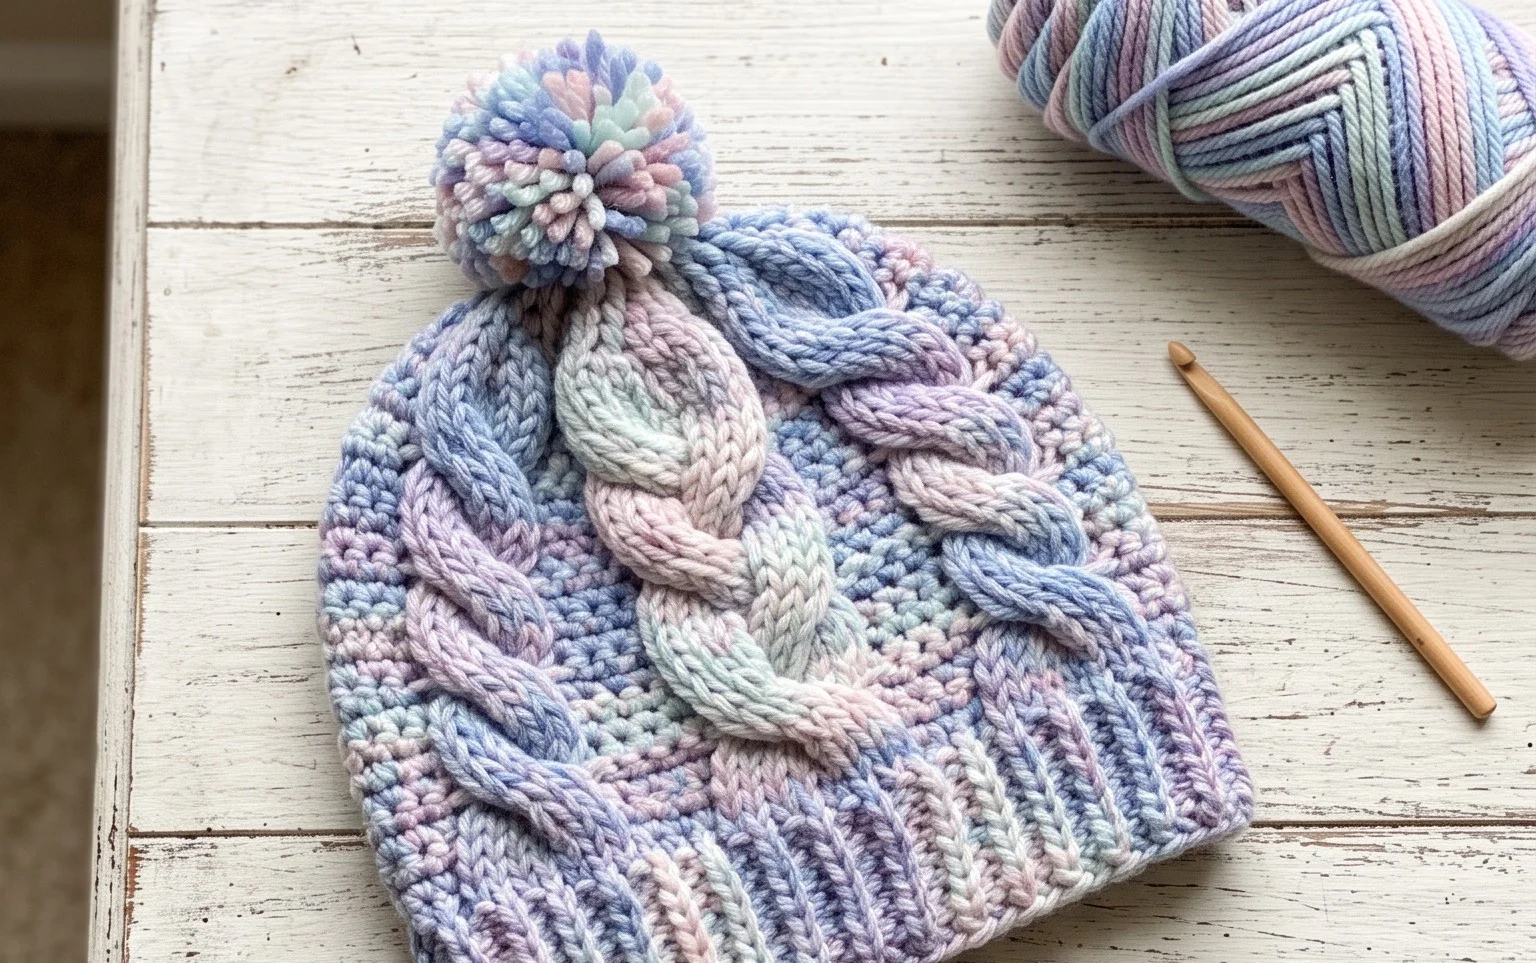
Soft wool against your ears on a biting winter morning makes this project a staple for any cold-weather wardrobe. This cozy beanie provides a thick, ribbed texture that holds its shape well and keeps you warm during long walks or chilly commutes. Beginners will appreciate how the repeating stitch pattern builds confidence while creating a professional-looking accessory that looks like it took much longer to make than it actually did. By focusing on back loop placement, you gain full control over the fabric density and stretch. You will master a simple construction method that turns a flat rectangle into a stylish headpiece.
Why You’ll Love This Pattern
This classic crochet beanie works up quickly using simple stitches that create a dense, warm fabric perfect for winter weather. The project relies entirely on half double crochet stitches worked in the back loops, which provides a ribbed, stretchy texture that fits comfortably on a variety of head sizes. Because it uses a medium-weight yarn, you can finish this hat in a single evening, making it a practical choice for last-minute gifts. The design is easy to memorize, allowing for a relaxing crafting session where you can focus on maintaining even tension.
I managed to finish this hat in just a few hours on a weekend. The instructions are very clear about where to place the stitches, and the finished hat has just the right amount of stretch.
— Sarah, beginner crocheter
Pattern Overview & Skill Level
- Skill Level: Beginner
- Approximate Time: 3 to 4 hours
- Construction: Worked as a flat rectangle in rows, then seamed along the side and cinched at the top to create a beanie shape.
- Finished Dimensions & Sizing: Adult medium, approximately 9 inches tall and 20 inches in circumference.
Materials & Supplies Needed
- Yarn: Worsted weight #4, 100% acrylic or wool blend, approximately 200 yards.
- Hook Size: 5.5 mm / I-9 crochet hook.
- Notions: Yarn needle, locking stitch markers, scissors, and a measuring tape.
- Safe yarn substitutions: Cotton yarn can be used but will result in a heavier, less elastic hat; ensure you check your gauge before starting as cotton often requires a different tension.
Stitch Guide & Abbreviations (US Terms)
- ch = chain
- hdc = half double crochet
- BLO = back loop only (inserting the hook only under the back loop of the stitch from the previous row)
- sl st = slip stitch
- st/sts = stitch/stitches
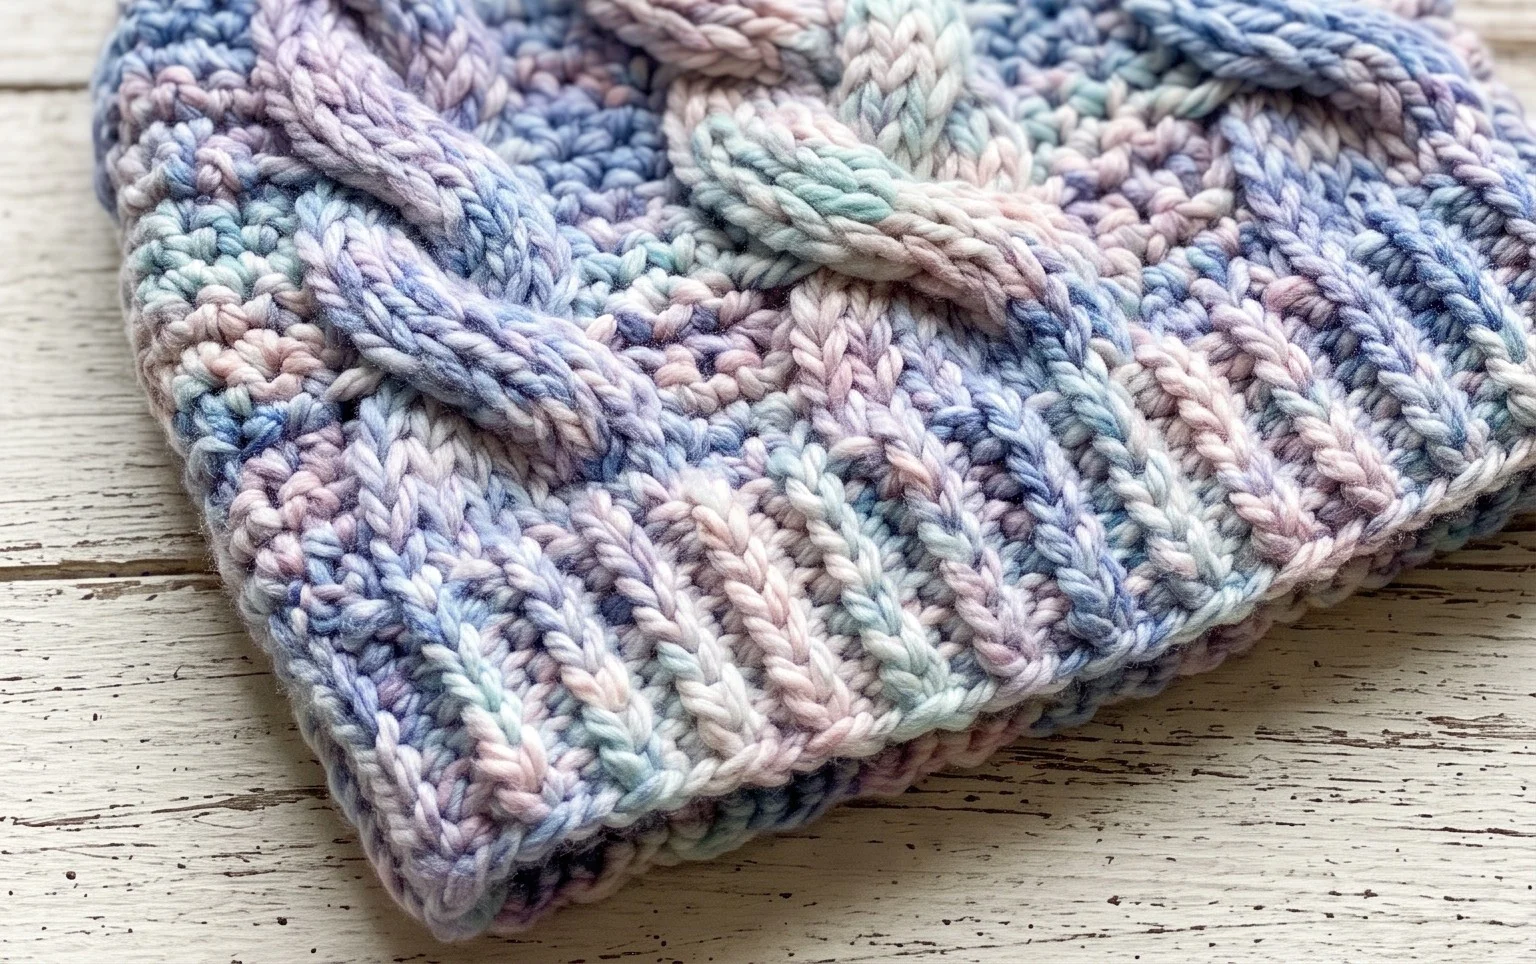
- Special Stitch: The hdc BLO creates a ribbed effect by leaving the front loop of the stitch exposed, which mimics the look of knit ribbing.
Step-by-Step Pattern Instructions
Main Body Panel
You will work this piece as a flat rectangle, then fold it to form the hat.
- Row 1: Ch 35. Hdc in the second chain from the hook and in each chain across. (34 sts).
- Row 2: Ch 1, turn. Hdc BLO in each stitch across. (34 sts).
- Row 3 through Row 50: Repeat Row 2 until the piece measures approximately 20 inches when slightly stretched. (34 sts).
Assembly and Finishing
Once you reach the desired length, you will close the hat into a tube.
- Seaming: Fold the rectangle in half so that the short ends meet. Slip stitch the edges together through both layers to create a cylinder. Fasten off, leaving a 12-inch yarn tail.
- Closing the Crown: Using your yarn needle and the long tail, weave the yarn in and out along one of the open edges of the tube. Pull the yarn tail tight to gather the top of the hat closed.
- Securing: Stitch back and forth across the center of the opening to ensure it is secure and there is no gap. Weave in all loose ends on the inside of the hat.
Care & Washing Instructions
- Hand wash in cool water using a mild wool-safe detergent to maintain the integrity of the fibers.
- Lay the hat flat on a clean towel to air dry, reshaping it while damp to ensure it keeps its form.
- Avoid using a tumble dryer, as heat can cause acrylic fibers to melt or natural wool fibers to shrink and felt.
Pro Tips & Common Mistakes to Avoid
- Consistent tension is vital for this pattern. If your stitches are too tight, the hat will lose its elasticity; try going up half a hook size if you find it difficult to pull the hook through the back loops comfortably.
- Use a stitch marker at the start of every row to ensure you are not accidentally skipping the last stitch, which is a common error that leads to a slanted edge.
- When weaving in ends, follow the path of the stitch pattern on the inside of the hat to keep the tail hidden from the exterior.
- To adjust the size, simply add or subtract rows; each row adds about 0.4 inches to the circumference of the finished hat.
Frequently Asked Questions
Can I substitute a different yarn weight?
Using a different yarn weight will significantly change the gauge and fit. If you use a lighter yarn, you will need to increase the starting chain length and the number of rows to reach the same dimensions.
Is this pattern suitable for someone who has never crocheted before?
Yes, this project is ideal for beginners because it uses only one basic stitch, the half double crochet, and requires no complicated shaping or increases.
Can I sell the hats I make from this pattern?
You are welcome to sell finished items created from this pattern, provided you credit the designer and use your own photographs for your listings.
How do I know if the hat will fit correctly?
The hat should measure roughly two inches less than your total head circumference, as the fabric is designed to stretch once worn. Measure your head with a tape measure around the widest part of your forehead to confirm the size.
Your finished hat brings a handmade touch to your winter outfits and serves as a reliable accessory for years to come. Try using a variegated yarn for a colorful look or adjust your starting chain to fit a child’s head size. Please share a photo of your finished work on social media so others can see your color choices. You can find more free patterns and seasonal ideas on the main blog page as you plan your next quiet weekend crafting project.