Sunburst Granny Square Tutorial: Free Easy Pattern
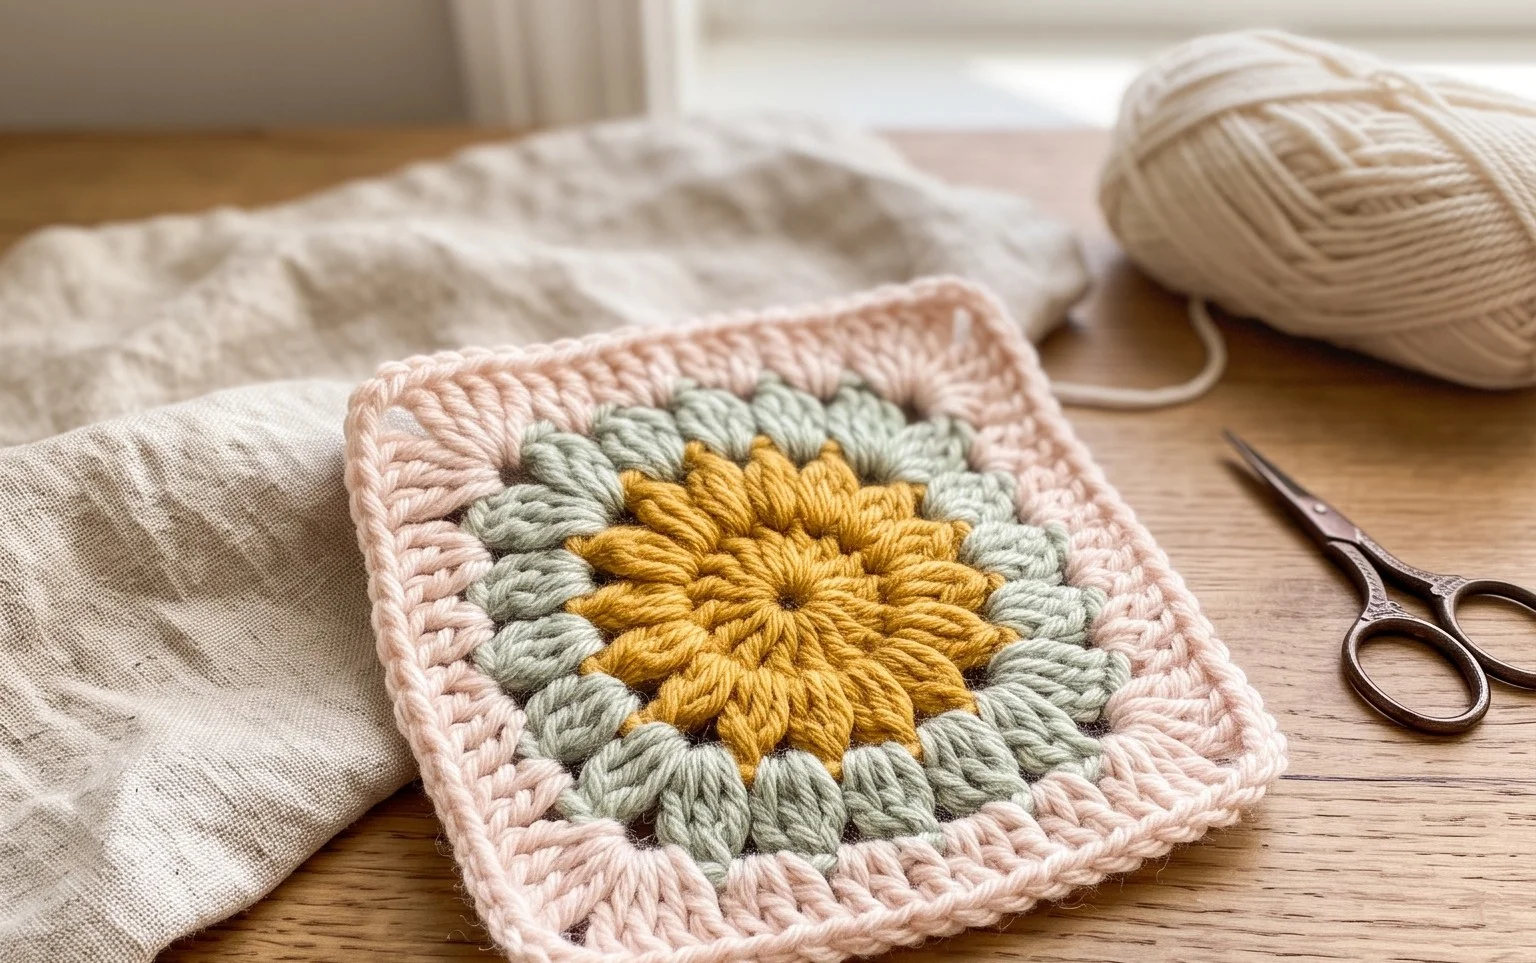
A finished sunburst motif features a plump, circular center that transitions into a square, giving your finished blanket or pillow a delightful texture that feels soft and substantial against your skin. This project is a great match for beginners who want to master the puff stitch without feeling overwhelmed by complex geometry. You will gain confidence as you expand from the center outward, turning simple loops into a beautiful floral design. Whether you are creating a gift for a friend or refreshing your home decor, this classic design provides a rhythmic, relaxing flow that makes every hour spent at the hook feel genuinely productive.
Why You’ll Love This Pattern
The Classic Crochet Granny Square is the fundamental building block of the craft, relying on simple chains and clusters of double crochet stitches to create a geometric, versatile motif. This project is ideal for using up leftover yarn scraps, as you can change colors every round to create a unique look without needing to purchase large skeins. Because the pattern follows a repetitive, predictable sequence, it provides a rhythmic experience that is both meditative and relaxing for makers of any experience level. You can scale your work by joining dozens of squares for a full-sized blanket or stopping after just one to create a quick coaster.
I have made dozens of these squares to finally clear out my yarn stash, and the instructions are so clear that I could memorize the repeat by the third round.
— Sarah, beginner crocheter
Pattern Overview & Skill Level
- Skill Level: Beginner
- Approximate Time: 30 to 45 minutes per square
- Construction: Worked in rounds, starting from a center point and expanding outward
- Finished Dimensions: Approximately 5 inches by 5 inches using worsted weight yarn
Materials & Supplies Needed
- Yarn: Worsted weight (#4), 100% acrylic or wool blend, approximately 20 yards per square.
- Hook Size: 5.0 mm (US H-8) crochet hook.
- Notions: Tapestry needle for weaving in ends, scissors, and optional locking stitch markers to track the first stitch of each round.
- Safe yarn substitutions: You may use DK weight (#3) yarn with a 4.0 mm hook for a smaller, tighter square, or bulky weight (#5) yarn with a 6.0 mm hook for a larger, more textured result. Adjusting yarn weight will change the final dimensions of your project.
Stitch Guide & Abbreviations (US Terms)
- ch = chain
- sl st = slip stitch
- dc = double crochet
- dc cluster = 3 double crochet stitches worked into the same space
- sp = space (the gap created by ch stitches in the previous round)
- st/sts = stitch/stitches
- Magic Ring: A technique to start rounds by crocheting over a loop of yarn, allowing you to tighten the center gap completely.
Step-by-Step Pattern Instructions
Granny Square Body
- Rnd 1: Start with a magic ring. Ch 3 (counts as first dc), work 2 dc into the ring, ch 2. Work (3 dc, ch 2) into the ring 3 times. Join with a sl st to the top of the beginning ch 3. (12 dc, 4 ch-2 spaces)
- Rnd 2: Sl st into the next 2 sts and into the first ch-2 corner space. Ch 3, 2 dc, ch 2, 3 dc in the same corner space. *Ch 1, (3 dc, ch 2, 3 dc) in the next corner space. Repeat from * twice more. Ch 1, join with a sl st to the top of the starting ch 3. (24 dc, 4 ch-1 spaces, 4 ch-2 corner spaces)
- Rnd 3: Sl st to the first ch-2 corner space. Ch 3, 2 dc, ch 2, 3 dc in that same space. *Ch 1, 3 dc in the next ch-1 side space, ch 1, (3 dc, ch 2, 3 dc) in the next corner space. Repeat from * twice more. Ch 1, 3 dc in the last ch-1 side space, ch 1, join with a sl st to the top of the starting ch 3. (36 dc, 8 ch-1 spaces, 4 ch-2 corner spaces)
- Rnd 4: Continue the pattern by working (3 dc, ch 2, 3 dc) in each corner and 3 dc in each side ch-1 space, separated by ch 1. Continue until the square reaches your desired size.
Finishing
Fasten off your yarn, leaving a six-inch tail. Pull the tail through the final loop to secure the knot. Use your tapestry needle to weave the tail end back and forth through the stitches on the back side of the square, ensuring it is secure before trimming any excess yarn.
Care & Washing Instructions
- Hand wash your finished items in cool water with a mild detergent to preserve the structure of the stitches.
- Lay the squares flat on a clean towel and reshape them while damp to ensure the corners remain square during the drying process.
- Avoid wringing or twisting the fabric, as this can stretch the yarn and distort the shape of the dc clusters.
Pro Tips & Common Mistakes to Avoid
Maintain consistent tension by ensuring your yarn flow remains steady; if your squares are curling, your tension might be too tight, whereas wavy edges often indicate your tension is too loose. Always place a stitch marker in the first stitch of each round if you are a beginner, as this makes it much easier to identify where to join with a slip stitch at the end of the round. Weave your ends in as you go to avoid a daunting finishing process if you are making many squares for a large project. Remember that increasing the number of rounds by just two or three can significantly increase the total yardage required, so check your remaining yarn supply before starting an extra-large motif.
Frequently Asked Questions
Can I use a different yarn weight for this pattern?
Yes, you can use any yarn weight as long as you pair it with the appropriate hook size suggested on the yarn label. Keep in mind that thinner yarn will result in a smaller, more delicate square.
Is this pattern suitable for complete beginners?
This is one of the most common projects for beginners because it only requires chains and double crochet stitches. The repetitive nature of the rounds allows you to gain muscle memory quickly.
Can I sell the items I make from this pattern?
You are welcome to sell finished items made from this pattern, provided you credit the design. Please do not redistribute or sell the written pattern itself.
How do I join multiple squares together?
You can join squares using a whip stitch along the back loops or a flat slip stitch seam. Both methods provide a sturdy connection for blankets or garments.
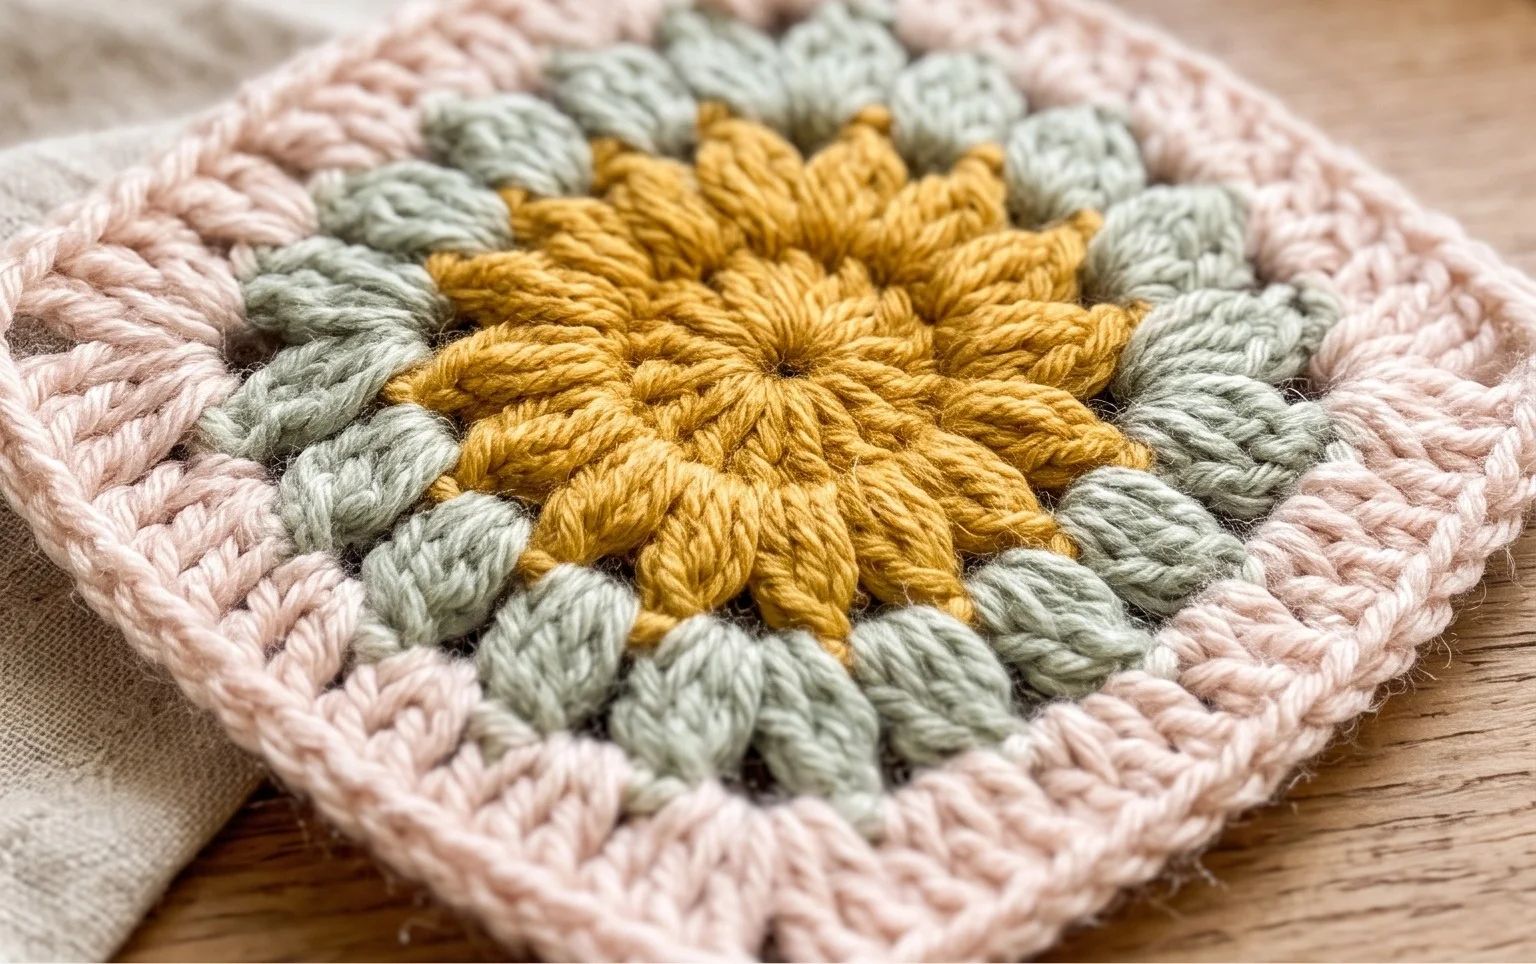
Your handmade square carries a unique warmth that store-bought items simply cannot replicate. You might try working this pattern in a variegated yarn to give the center a subtle shift in tone or increase your hook size to create a lacier, more open effect for a summer throw. Please share a photo of your finished piece on your favorite social media site so others can see your color choices. You are welcome to browse the blog archives for more free patterns that utilize these same basic techniques for your next project.