19 Easy Crochet Slouchy Hat Patterns for Quick Projects
A soft, slouchy beanie feels like a warm embrace on a crisp morning, especially when you have crafted it with your own hands. These headpieces offer a relaxed drape that pairs well with any outfit, making them a staple for your autumn wardrobe. Whether you are a beginner looking to practice basic stitches or a gift maker needing a project that finishes before the weekend, these patterns are accessible and satisfying. You will find that mastering the simple half double crochet in the back loop creates a stretchy, professional texture without requiring complex shaping or tricky color changes along the way.
Why You’ll Love This Pattern
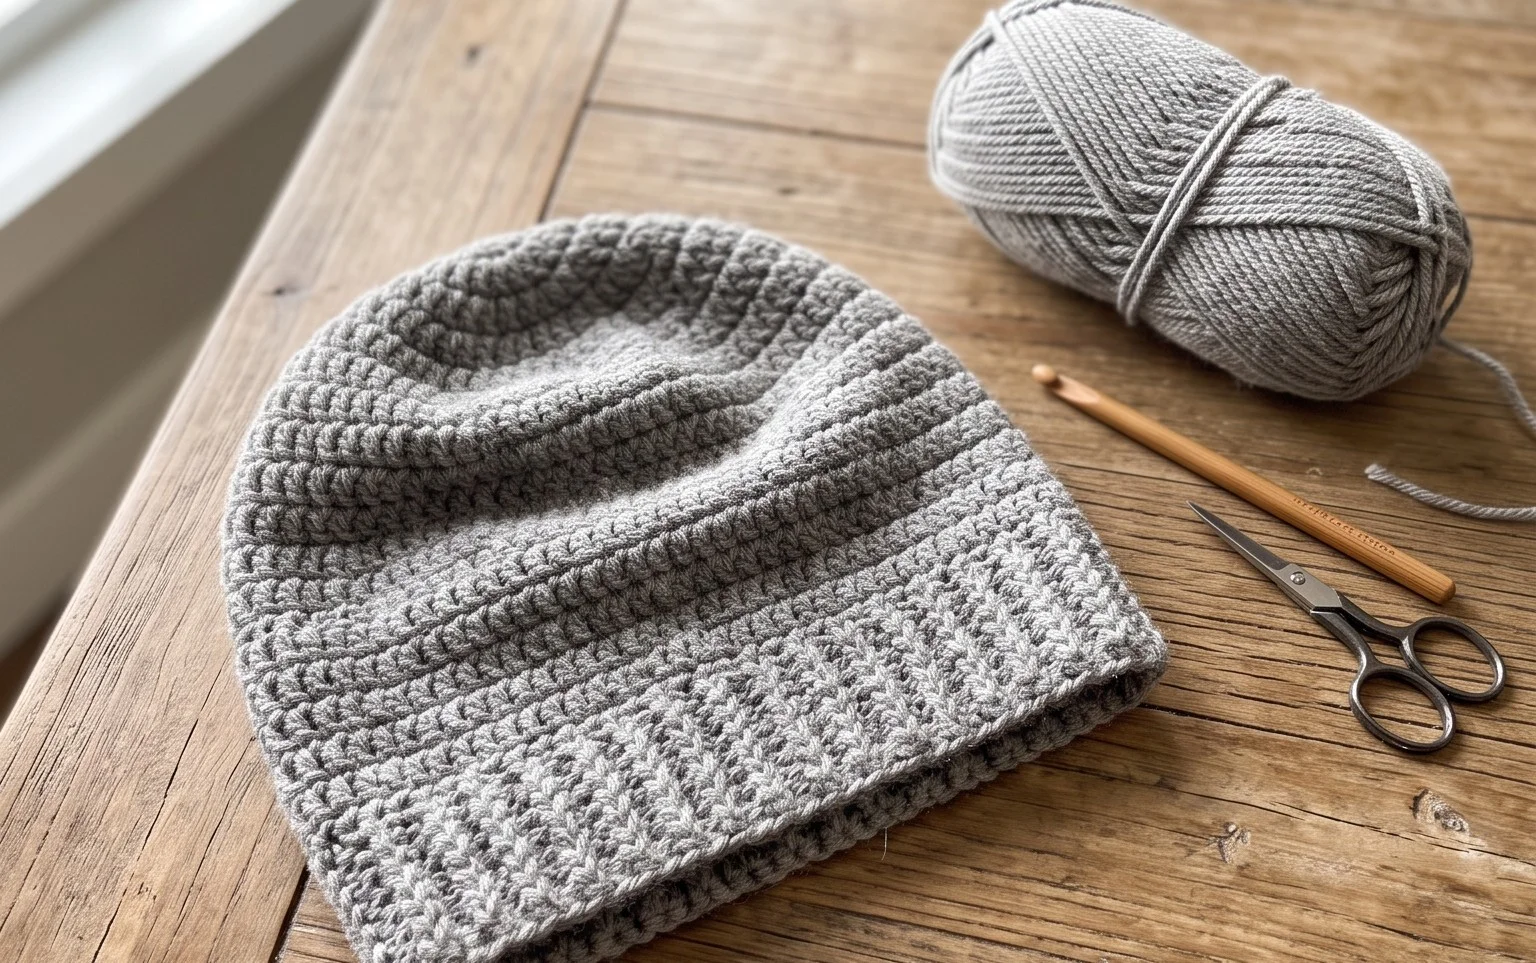
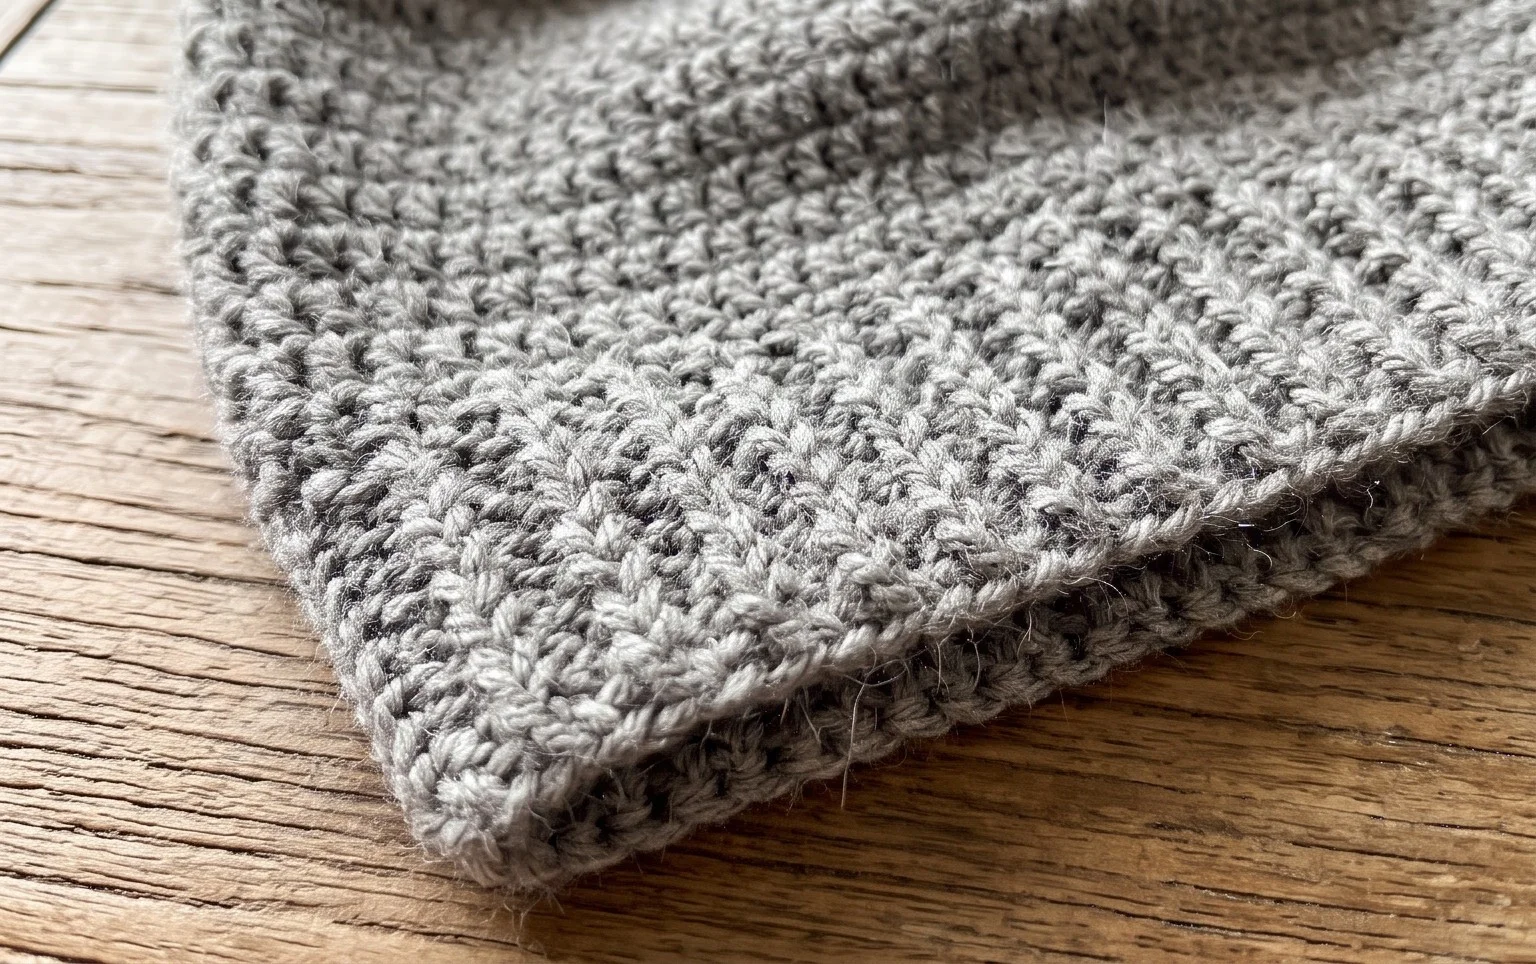
This crochet ribbed beanie offers a classic, fitted silhouette that relies on simple half double crochet stitches worked in the back loops. The construction uses a flat rectangle worked in rows, which is then seamed to create a comfortable, stretchy tube. Because it is made in one solid piece, you do not have to worry about complex crown decreases or joining multiple panels. This pattern is ideal for using up single skeins of worsted weight yarn, and the finished texture is thick enough to provide real warmth during the colder months.
I finished this hat in two evenings while watching TV. The ribbed texture looks professional and the fit is perfect for a standard adult head size.
— Sarah, hobbyist crocheter
Pattern Overview & Skill Level
- Skill Level: Beginner
- Approximate Time: 3 to 4 hours
- Construction: Flat panel worked in rows, seamed into a tube with a gathered crown
- Finished Dimensions & Sizing: 18 inches circumference (unstretched) by 9 inches tall; fits most adult heads
Materials & Supplies Needed
- Yarn: Worsted #4 weight wool or acrylic blend, approximately 200 yards. Solid colors show off the texture best.
- Hook Size: 5.0 mm (H-8) crochet hook.
- Notions: Tapestry needle for seaming and weaving ends, locking stitch markers, and scissors.
- Safe yarn substitutions: You may use cotton blends, though they will have less elasticity than wool. If using a thinner #3 light worsted, you will need to add extra rows to maintain the 18-inch width.
Stitch Guide & Abbreviations (US Terms)
- ch: chain
- hdc: half double crochet
- BLO: back loop only (inserting the hook only through the rear loop of the stitch instead of both loops)
- sl st: slip stitch
- st/sts: stitch/stitches
- hdc-blo: half double crochet in the back loop only
Step-by-Step Pattern Instructions
Main Body
Work in rows to create the rectangular body of the hat.
- Row 1: Ch 46. Work 1 hdc in the 3rd ch from the hook and in every ch across. Turn. (44 sts)
- Row 2: Ch 2 (does not count as a stitch). Work 1 hdc-blo in each st across until the end. Turn. (44 sts)
- Row 3-60: Repeat Row 2 until the piece measures approximately 18 inches unstretched when held together. Do not fasten off.
Seaming and Finishing
- Seaming: Fold the rectangle in half so the short ends meet. Slip stitch through the back loop of the stitches on both edges to join the side, creating a tube.
- Closing the Crown: Fasten off, leaving a 12-inch long tail of yarn. Thread the tail onto your tapestry needle. Weave the yarn in and out of the stitches along the top edge of the tube. Pull the tail tight to cinch the hole closed. Secure the end with a knot on the inside.
- Final Step: Weave in all remaining ends securely into the fabric.
Care & Washing Instructions
- Hand wash in cool water using a gentle wool-safe detergent to preserve the fibers.
- Lay the item flat on a clean towel and reshape it while damp to ensure it keeps its size.
- Avoid wringing or twisting the hat, as this can distort the ribbed stitch pattern.
Pro Tips & Common Mistakes to Avoid
Maintain consistent tension throughout the project, as the back loop stitch reveals irregularities easily. If your stitches look loose, try going down a half-hook size. Always use a stitch marker at the end of every row to ensure you are not accidentally dropping stitches, which causes the rectangle to taper unevenly. If you want a slouchier fit, increase the starting chain length by 10 to 15 stitches, but keep in mind that this will require more yardage.
Frequently Asked Questions
Can I sell the finished hats I make from this pattern?
Yes, you are welcome to sell finished items made from this design. I appreciate credit back to my shop or website when you do so.
How do I adjust the size for a child?
Simply reduce your starting chain by 6 to 8 stitches to make the width smaller. Measure the head circumference and subtract 2 inches to account for the natural stretch of the ribbing.
Is this pattern suitable for someone who has never crocheted before?
This is a great first project. It uses only one basic stitch, the half double crochet, and requires no complicated shaping or counting beyond the initial row.
Can I use a bulky yarn instead of worsted?
Using a thicker yarn will significantly change the gauge. You would need to reduce the starting chain count to reach the correct width, but the resulting hat will be much heavier and less pliable.
Finishing these projects gives you a sense of pride that only handmade items can provide. You might try swapping the wool for a soft bamboo blend to create a lighter, spring-appropriate version of the hat. Once you have finished your first slouchy piece, share a clear photo of your work on your favorite social media platforms to inspire others. Our blog contains plenty of other free patterns to keep your hands busy throughout the season, so take some time to browse through our growing library of designs.