Easy Cat Ear Beanie: Free Beginner Crochet Pattern
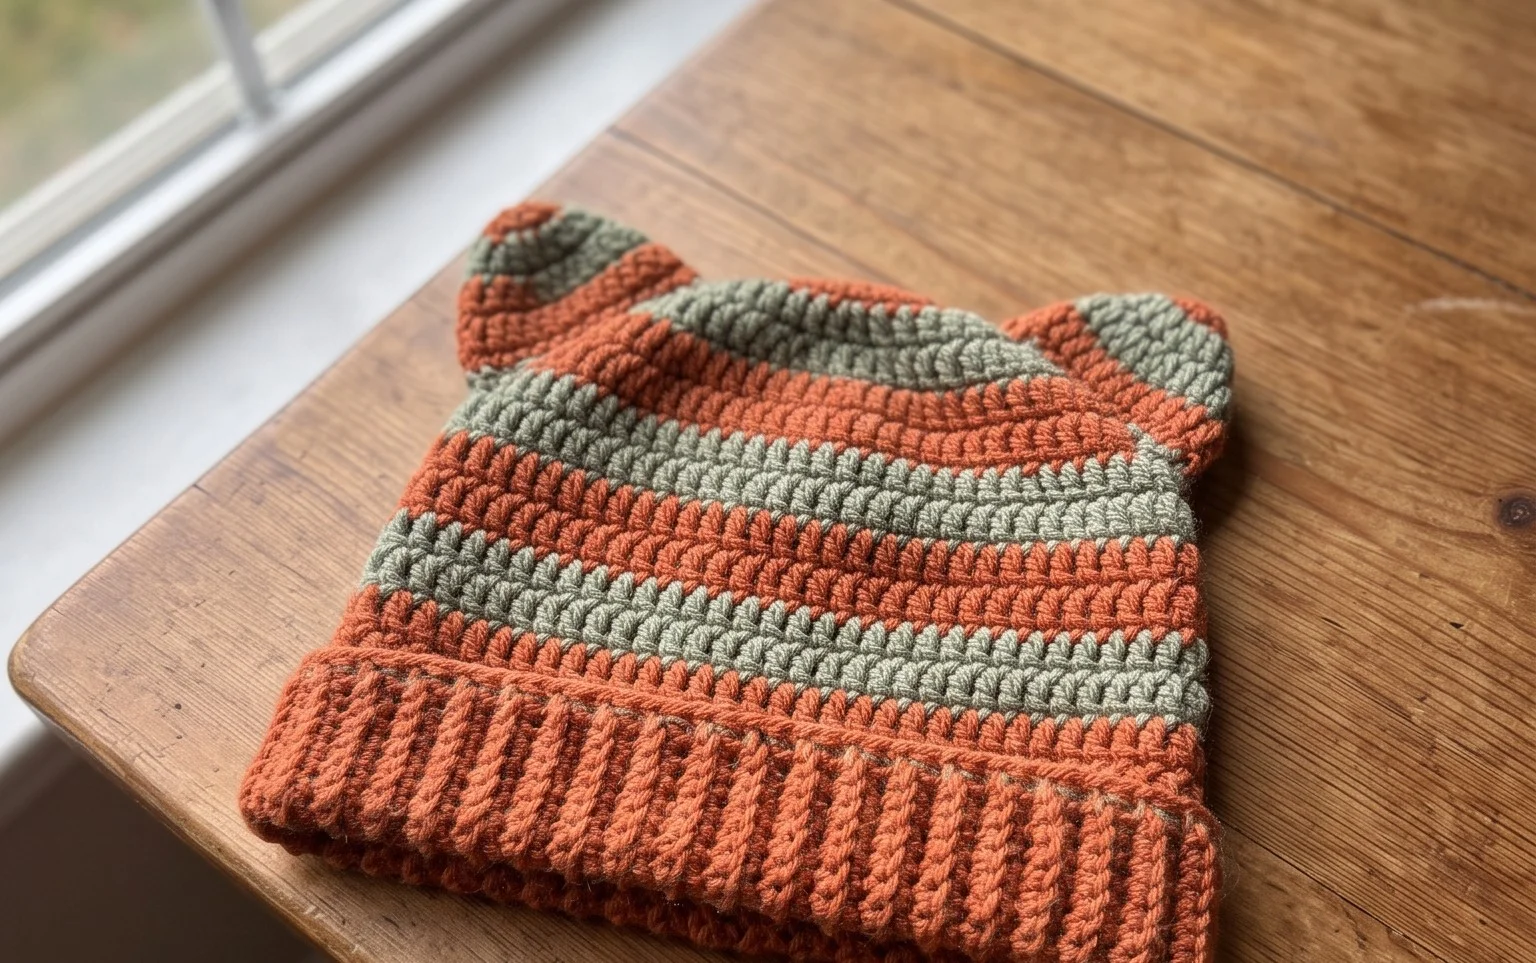
Soft worsted weight cotton curls into a playful silhouette that brings a whimsical charm to any outfit. This small hat features pointed corners that stand up on their own, giving it a structured appearance that remains firm even after hours of wear. Beginners appreciate this design because it avoids complex shaping or intricate color changes. You will focus on building a dense fabric through repetitive, meditative motions that create a tight gauge. Working in simple continuous rounds allows you to build confidence as you watch the fabric grow under your hook. This project turns yarn scraps into a gift within an afternoon.
Why This Project Is Worth Making
This beginner-friendly project works up in under two hours, making it an excellent choice for last-minute gifts or stash-busting. Because it relies on basic single crochet stitches worked in a continuous spiral, you avoid the hassle of joining rounds and counting turning chains. The dense fabric creates a sturdy structure that holds its shape well, even when handled frequently. You can easily complete the entire item using less than half a skein of standard worsted weight yarn.
I loved how quickly this project came together. The pattern was very easy to follow and the final result looks professional despite being a simple design.
— Sarah, beginner crocheter
Pattern Overview & Skill Level
- Skill Level: Beginner
- Approximate Time: 1.5 to 2 hours
- Construction: Amigurumi-style continuous rounds using a magic ring start
- Finished Dimensions: 4 inches tall by 3 inches wide
Materials & Supplies Needed
- Yarn: Worsted weight (#4), 100% cotton, approximately 50 yards. Cotton provides the best stitch definition and durability for 3D items.
- Hook Size: 4.0 mm (G-6) crochet hook.
- Notions: Tapestry needle for weaving ends, stitch markers for marking the first stitch of each round, and polyester fiberfill for stuffing.
- Yarn Substitutions: Acrylic yarn is a soft, budget-friendly alternative. Note that acrylic is stretchier than cotton, so you may need to stuff the item more firmly to prevent the stitches from gapping.
Stitch Guide & Abbreviations (US Terms)
- MR: Magic ring
- ch: Chain
- sc: Single crochet
- inc: 2 sc in the same stitch
- dec: sc2tog (insert hook into front loop of next two stitches, yarn over, pull through, yarn over and pull through both loops on hook)
- sl st: Slip stitch
- st(s): Stitch(es)
Step-by-Step Pattern Instructions
Body
- Rnd 1: Start 6 sc in MR. (6 sts)
- Rnd 2: Inc in each st around. (12 sts)
- Rnd 3: [Sc 1, inc] 6 times. (18 sts)
- Rnd 4: [Sc 2, inc] 6 times. (24 sts)
- Rnd 5: Sc in each st around. (24 sts)
- Rnd 6: Sc in each st around. (24 sts)
- Rnd 7: Sc in each st around. (24 sts)
- Rnd 8: [Sc 2, dec] 6 times. (18 sts)
- Rnd 9: [Sc 1, dec] 6 times. (12 sts). Stuff the body firmly with fiberfill at this stage.
- Rnd 10: Dec 6 times. (6 sts)
Finishing
Cut the yarn, leaving a 6-inch tail. Thread the tail onto a tapestry needle. Weave the needle through the front loops of the remaining 6 stitches and pull tight to close the hole. Secure the yarn with a knot and bury the remaining tail inside the body.
Care & Washing Instructions
- Machine wash in a garment bag on a gentle cycle using cool water.
- Reshape the item while damp and lay it flat on a clean towel to air dry.
- Avoid using high heat or tumble drying, as this can shrink the fibers and damage the fiberfill stuffing.
Pro Tips & Common Mistakes to Avoid
Maintain consistent tension throughout the project to ensure the stuffing does not show through the gaps between stitches. Using a hook one size smaller than the yarn label recommends helps create a tighter fabric for 3D toys. Always place a stitch marker in the first stitch of every round to keep track of your progress without counting every single stitch manually. If you wish to make the project larger, you can add increase rounds at the beginning, but note that this will significantly increase the amount of yarn required and change the overall proportions.
Frequently Asked Questions
Can I use a larger hook for this pattern?
Using a larger hook will make the stitches loose, which allows the stuffing to poke through. Stick to the recommended 4.0 mm hook for the best results.
How do I adjust the size of the item?
To make it larger, continue the increase rounds (e.g., [sc 3, inc] 6 times for 30 sts) before working the even rows. Remember to increase the number of decrease rounds to match your total stitch count.
Is this pattern suitable for complete beginners?
Yes, the pattern only uses single crochet and basic increases and decreases, making it an ideal first project for learning 3D construction.
Am I allowed to sell items made from this pattern?
You are welcome to sell finished items created from this pattern. Please credit the original design when listing your products online.
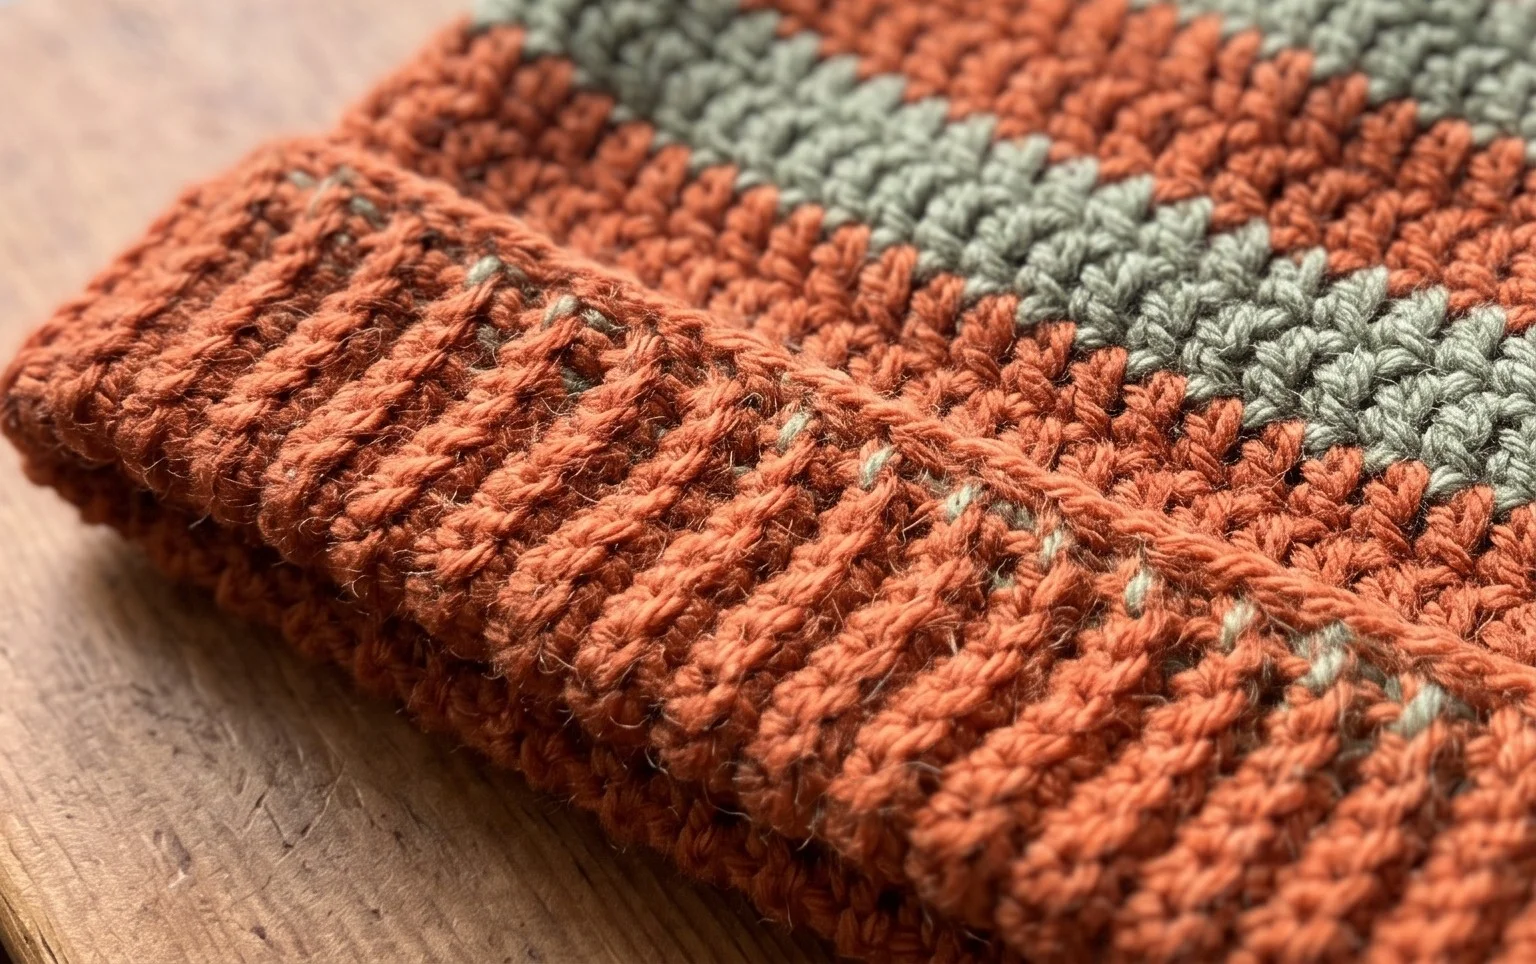
Seeing your handmade hat come to life with those sharp little points is truly satisfying. You can experiment with chunky wool for a cozy winter version or add stripes of a contrasting color to change the style entirely. If you feel proud of your work, share a photo of your finished project online so others can see how you interpreted the design. Check out my other free crochet guides for more simple projects that build your skills one stitch at a time as you grow your collection.